On this page
The first HRV I ever recommissioned had been running flat out for two years. The homeowner called because their heating bill was brutal and the house still felt stuffy. The installer had set the wall control to high, walked out, and nobody touched it again.
That is the problem with a heat recovery ventilator. The hardware is the easy part. The controls are where a good install turns into a good result, and they are almost always left on a default that fits nobody’s house.
This guide walks through hrv controls setup step by step, so your unit ventilates on a schedule that matches how you actually live.
Before you start
Make sure the unit is powered, the ducts are connected, and the installer has done a rough airflow balance. If air is still dripping out of a disconnected duct in the attic, no wall setting will fix that.
You will also want to know which control you have. There are three common types, and they change every step that follows.
| Control type | What it does | Best for |
|---|---|---|
| Basic switch (Off / Low / High) | Manual speed only, no scheduling | Simple homes, hands-on owners |
| Dehumidistat / percent RH dial | Runs faster when indoor humidity climbs | Cold climates, condensation problems |
| Digital / programmable wall control | Speeds, timers, RH setpoint, and schedules | Most modern whole-house HRVs |
The rest of this guide assumes a digital control, since that is what ships with most units sold in the last decade. If you have a basic switch, skip to the fan speed section and ignore the timer parts.
Step 1: Set the background ventilation speed
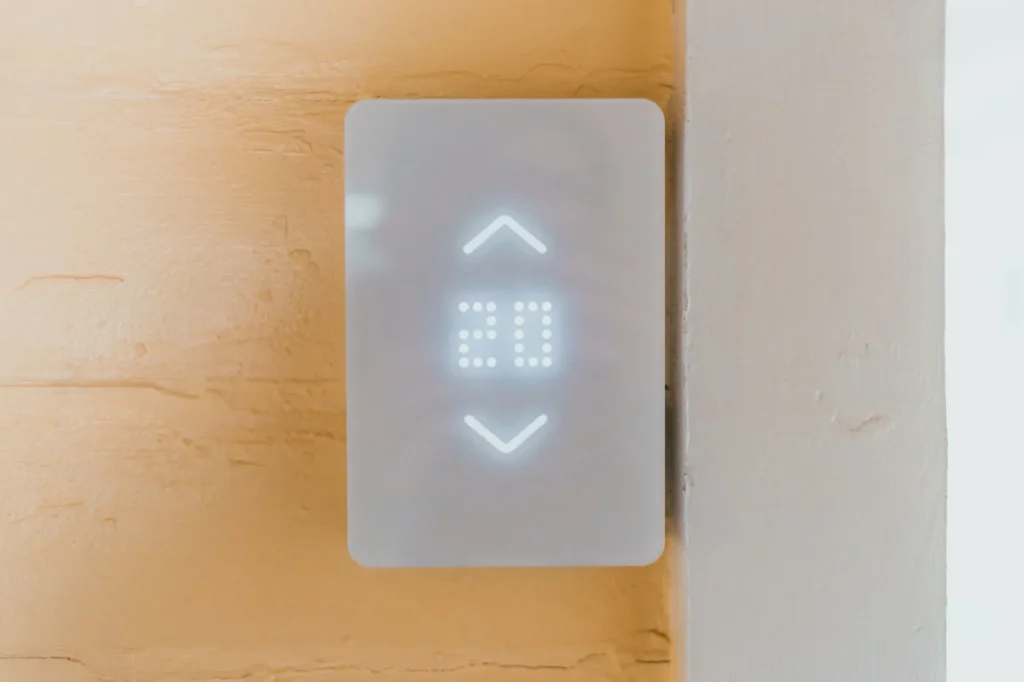
Every whole-house HRV should have a low, continuous background speed. This is the rate it runs all day to keep fresh air moving, even when nobody is boosting it.
Start on the lowest continuous setting, often labeled Low or a percentage like 30-40 percent. Live with it for a few days.
If windows fog in the morning or the air feels stale by evening, nudge it up one step. A typical target for a whole-house system is somewhere around 0.3 air changes per hour, which most low settings deliver in a normal home.
Do not chase a number you cannot measure. If the air feels fresh and the windows stay clear at your coldest morning, your background speed is close enough.
Step 2: Program the boost triggers
Boost is the high speed that clears moisture and odors fast. The point of setup is to make boost happen automatically, so nobody has to remember to flip a switch after a shower.
Bathroom and kitchen switches
Most HRVs support wired boost switches or a signal from a bathroom timer switch. Wire the bathroom fan switch so a press puts the HRV into high for a set run time.
Twenty minutes is a good default for a shower. For a kitchen after cooking, thirty to forty minutes clears lingering moisture and smells without running all night.
Boost should be loud enough to notice and short enough to forget. If people are turning it off manually, your run time is too long.
Humidity-triggered boost
If your control has a built-in humidity sensor, it can boost on its own when indoor RH spikes. This is the same idea as the dehumidistat, just automated at the boost level instead of the background level.
Step 3: Dial in the humidity or dehumidistat mode
This is the setting people get wrong most often. A dehumidistat tells the HRV to ramp up when indoor humidity rises above a target, which pulls out damp air and replaces it with drier outdoor air.
In winter, that target moves with the outdoor temperature. Set it too high and you get condensation on windows. Set it too low and the house gets uncomfortably dry.
| Outdoor temperature | Suggested indoor RH target |
|---|---|
| Above 20 F (-7 C) | 40-45 percent |
| 0 to 20 F (-18 to -7 C) | 35-40 percent |
| -10 to 0 F (-23 to -18 C) | 30-35 percent |
| Below -10 F (-23 C) | 25-30 percent |
Many digital controls now adjust this automatically if you feed them the outdoor temperature. If yours does not, expect to lower the dial one notch during a hard cold snap and raise it again in the shoulder seasons.
Foggy windows are not a window problem. They are your HRV telling you the indoor humidity target is set too high for how cold it is outside.
The US EPA has solid background on why keeping indoor humidity in the 30-50 percent range matters for both comfort and mold prevention. It is worth a read if you are new to this.
Step 4: Choose a timer or recirculation mode
Tighter, well-sealed homes sometimes do not need constant ventilation. That is where timer modes earn their keep.
A common option is a 20/40 cycle: the unit ventilates for 20 minutes of each hour and rests for 40. Some controls offer 10/50 or an adjustable duty cycle.
Use these when the home is very airtight, occupancy is low, or you are fighting winter heat loss. In a leaky older house, skip timer mode and run continuous background instead, because the house already leaks plenty on its own.
Do not put a home with a wood stove, gas range, or attached garage on an aggressive off-cycle. Combustion and stored-car fumes need reliable, continuous air exchange.
Step 5: Balance and verify before you trust it
A wall control only distributes what the unit is moving. If the supply and exhaust airflows are not balanced at the machine, one side always wins and your fresh air ends up in the wrong rooms.
Balancing is usually done at the unit with dampers or a technician’s magnehelic gauge, not from the wall. If your installer skipped it, that is a call-back, not a settings tweak.
Once balanced, verify the whole setup with a simple walk-through.
- Background speed runs continuously and the air feels fresh by evening.
- Bathroom boost switches trigger high speed and time out on their own.
- Windows stay clear on your coldest morning at your chosen RH target.
- Timer mode, if used, is not starving a combustion appliance of air.
- You can hear a speed change when you press boost.
If you are still choosing equipment rather than programming it, the HRV and ERV Buying Guide for Homeowners and the HRV Installation Cost Breakdown cover the decisions that come before this stage.
A last practical note
Write your settings down. Tape a small card inside the wall control cover or on the unit itself with your background speed, RH target, and boost times.
Six months from now you will not remember why you picked 40 percent, and neither will the next owner. A thirty-second note saves an afternoon of guessing.
Then leave it alone. A well-set HRV is boring on purpose. Check it at the start of heating season, adjust the humidity target as the weather turns hard cold, and let it do its quiet work the rest of the year. The Department of Energy’s Energy Saver pages are a good next stop if you want to understand the heat-recovery side of what your unit is doing.
Frequently asked questions
What fan speed should my HRV run on most of the time?
Keep it on the lowest continuous background speed that still leaves the air fresh and the windows clear. That is usually a Low setting or roughly 30-40 percent on a digital control. You only jump to high for short boosts after showers or cooking, not as an all-day speed.
What humidity setting should I use on an HRV dehumidistat in winter?
Match it to the outdoor temperature. Around 40-45 percent when it is mildly cold, dropping toward 30 percent or lower during a hard cold snap. If windows fog up in the morning, your target is set too high for the current outdoor temperature and should come down a notch.
What is the 20/40 timer mode on an HRV?
It ventilates for 20 minutes of each hour and rests for 40 to save heat in tight, low-occupancy homes. It suits well-sealed houses but is a poor choice where a wood stove, gas range, or attached garage means you need steady, continuous air exchange for safety.
Do I need to balance the HRV before adjusting the wall control?
Yes. The wall control only distributes the airflow the unit is already moving. If supply and exhaust are not balanced at the machine, fresh air ends up in the wrong rooms no matter what you set. Balancing is done at the unit, usually by the installer, not from the wall.
Why does my HRV run constantly even when I set it to low?
Some units are wired for continuous background operation by design, and low simply means the slow continuous speed rather than off. Others may be stuck on high from the installer's default. Check whether your control has a true off, a background speed, and separate boost triggers before assuming something is broken.

Dharm Solanki
Dharm Solanki spends a lot of time thinking about the air inside people's homes, usually when no one else is. He writes about humidity, ventilation, and dehumidifiers, along with the small fixes that turn a stuffy or damp room into one that feels comfortable again. He would rather explain why a recommendation works than just point at a product, so his guides tend to answer the question you were about to ask next. And if something looks great on paper but struggles in a normal house, he says so.