On this page
- Before you start: tell water from water vapor
- Step 1: walk the outside first (free to $50)
- Step 2: cheap habit changes for condensation (free to $30)
- Step 3: seal what you can reach ($20 to $600)
- Step 4: manage the humidity that remains ($150 to $400)
- Step 5: the big fix, only if you need it ($3,000+)
- Putting it in order
The first damp basement I ever diagnosed was not leaking at all. The homeowner was convinced water was coming through the block wall. It turned out her clothes dryer vented straight into the basement, dumping about a gallon of water into the air every load. We rerouted one duct and the “leak” vanished.
That is the whole trick with a damp basement. The fix is easy once you know the cause, and most people skip straight to the fix.
So let us slow down and figure out where your water is actually coming from, then rank the repairs from a free afternoon habit to a serious drainage job.
Before you start: tell water from water vapor
There are only two ways a basement gets damp. Liquid water gets in from outside, or humid air condenses on cold surfaces inside. They look similar and they are fixed in completely different ways.
Here is the two-dollar test I still use. Tape a 12-inch square of aluminum foil flat against a bare spot on the concrete and seal all four edges with tape. Wait 24-48 hours.
Moisture on the room-side face of the foil means humid air is condensing (a ventilation and humidity problem). Moisture trapped behind the foil, against the wall, means liquid water is seeping through the concrete (a drainage problem). This one test decides everything that follows.
If it is condensation, you are dealing with the same physics behind Condensation on Interior Walls and that musty basement smell. If it is seepage, keep reading, because the outside of your house is the problem.
Step 1: walk the outside first (free to $50)
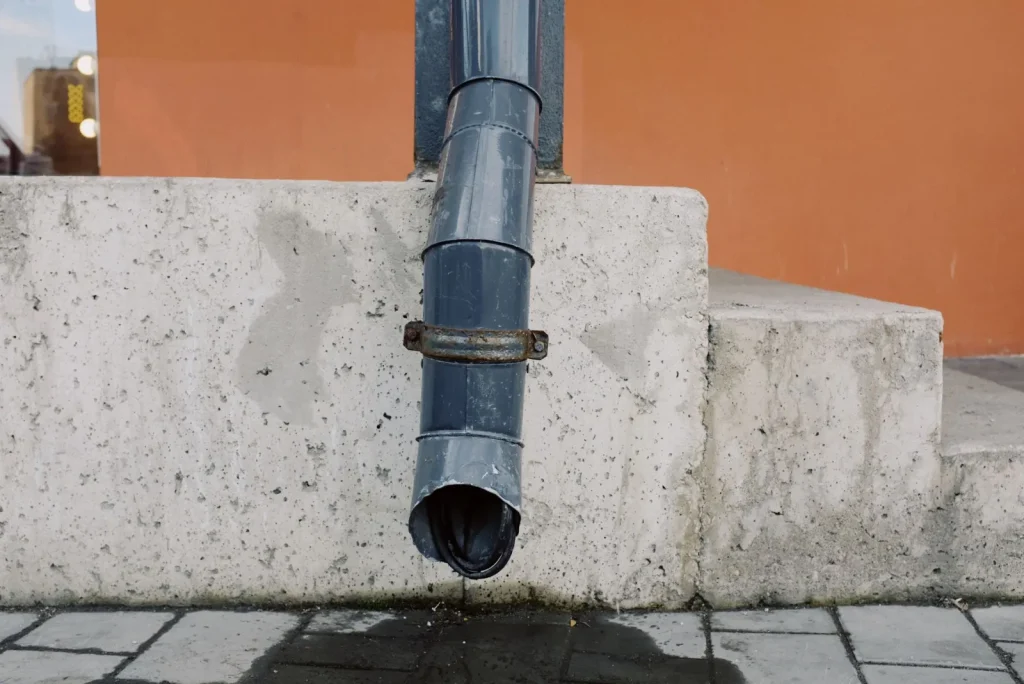
Most seepage starts with water that should have drained away from the house and instead pooled against the foundation. You fix that in the yard, not the basement.
Check your gutters and downspouts
Clogged gutters send a sheet of water straight down the wall and into the soil beside your footing. Clean them, then look at where the downspouts end.
A downspout that dumps water 6 inches from the foundation is feeding your leak. Add extensions that carry it at least 4-6 feet away from the house. Splash blocks and flexible extensions cost $8-20 each and fix a shocking number of “serious” basement problems.
Move roof water at least 4-6 feet from the foundation and slope the first 6 feet of soil away from the house. Do these two things before you spend real money on anything else.
Check the grading
The soil around your house should drop about 6 inches over the first 10 feet, sloping away. Over years, soil settles and starts tilting back toward the wall, funneling rain to the foundation.
Regrade with clean fill dirt (not mulch or topsoil, which hold water) and tamp it into a gentle slope. A few wheelbarrows of dirt and a Saturday will often do it. The US Department of Energy covers foundation moisture control well if you want the technical reasoning, at the DOE Energy Saver site.
Step 2: cheap habit changes for condensation (free to $30)
If your foil test pointed to condensation, some of the fixes cost nothing. Warm, humid indoor air hits cool basement walls and floors and gives up its moisture.
- Reroute any dryer that vents indoors so it exhausts outside.
- Run bathroom and kitchen exhaust fans that actually terminate outdoors.
- In summer, keep basement windows closed on humid days. Warm outdoor air condenses the moment it hits cool basement surfaces.
- Move firewood, damp cardboard boxes, and stacks of newspaper out of the basement.
- Insulate cold water pipes so they stop sweating onto the floor.
These small moves handle mild dampness. Getting the room to a sensible relative humidity is the goal, and the best humidity level to prevent mold is generally 30-50 percent, ideally under 60 in a basement.
Step 3: seal what you can reach ($20 to $600)
Once outside water is managed, seal the interior against the moisture that still gets through. Order matters here, so do not seal before you fix drainage or you will just trap water in the wall.
Never seal an actively leaking wall from the inside while water is still pooling outside. You will trap moisture in the block, and hydrostatic pressure can pop the coating or crack the wall. Fix the water source first, then seal.
Small cracks in poured concrete can be filled with a hydraulic cement or a polyurethane crack injection kit for $20-60. For persistent surface dampness on bare, dry masonry, a waterproofing masonry paint runs $30-50 a gallon.
Have a pro seal a cracked window well, a leaking rod hole, or a failed cove joint if you are not confident. Interior sealing labor typically lands between $200 and $600 depending on wall size.
Step 4: manage the humidity that remains ($150 to $400)
Even a dry, well-sealed basement holds humid air, because concrete is cool and basements have poor airflow. This is where a dehumidifier earns its keep.
Be clear about what the machine does. A dehumidifier pulls water vapor out of the air. It will never stop liquid water pushing through a wall, so it is a finishing tool, not a repair.
A dehumidifier is the last 10 percent of a dry basement, not the first 90. If yours runs nonstop and the floor is still wet, you have a drainage problem, not a humidity one.
For a typical damp basement, a 30-50 pint unit with a built-in pump and a hose to the sump or a drain is the practical pick. If you want help matching capacity to your space, our guide on how to size a dehumidifier by pints walks through the math, and the portable vs whole house dehumidifier comparison helps if you are covering more than one level.
| Fix | Typical cost | Best for |
|---|---|---|
| Downspout extensions | $8-20 each | Roof water pooling at the wall |
| Regrading soil | $0-200 DIY | Ground sloping toward the house |
| Crack sealing / injection | $20-600 | Cracks in poured concrete |
| Dehumidifier | $150-400 | Lingering humidity, condensation |
| Interior drain + sump pump | $3,000-12,000 | Hydrostatic pressure, real flooding |
Step 5: the big fix, only if you need it ($3,000+)
If water rises up through the floor or gushes at the wall-floor joint after every storm, you have hydrostatic pressure. Groundwater is pushing up against the slab and no amount of paint or grading will hold it back.
This is the point for an interior perimeter drain (a French drain channel around the footing) feeding a sump pit and pump. It is the most expensive fix by far, which is exactly why it comes last, after the cheap steps have ruled everything else out.
Excess indoor moisture is also a health issue, not just a comfort one. The EPA has solid, non-salesy guidance on damp spaces and mold at the EPA mold pages, worth reading before mold gets a foothold.
Putting it in order
The mistake I see most often is a homeowner spending $5,000 on interior drainage when a $15 downspout extension and a few wheelbarrows of dirt would have done it. Work the list from the top.
Run the foil test, clean the gutters and check the slope, adjust your habits, seal the small stuff, then let a right-sized dehumidifier hold the line. Only call for drainage work when water is genuinely coming up through the floor.
Fix the cause in that order and the basement stays dry for years, not until the next storm.
Frequently asked questions
Will a dehumidifier fix a damp basement on its own?
Only if the dampness is from humid air, not liquid water. A dehumidifier pulls water vapor out of the air and controls condensation and musty smells very well. It cannot stop water seeping through a wall or rising through the floor. If your unit runs constantly and the floor is still wet, you have a drainage problem that the machine will never solve.
How do I tell if it is seepage or condensation?
Tape a foot-square piece of aluminum foil flat to a bare spot on the wall and seal all four edges. Wait a day or two. If moisture shows up on the room-side face, humid air is condensing and you have a humidity problem. If moisture is trapped behind the foil against the concrete, liquid water is seeping through and you have a drainage problem.
What is the cheapest fix for a damp basement?
Start with your gutters and downspouts. Clean the gutters and add extensions so roof water drains 4-6 feet from the foundation. Then check that soil slopes away from the house and regrade with clean fill if it does not. These steps cost under $200 and resolve a large share of basement moisture before any sealing or drainage work is needed.
Should I seal my basement walls from the inside?
Yes, but only after you have handled outside water and any active leak. Sealing an actively leaking wall traps moisture in the block and can crack the coating or the wall under pressure. Once gutters, grading, and cracks are addressed and the wall is dry, waterproofing masonry paint or crack injection is a reasonable next step.
What humidity level should a basement stay at?
Aim for 30-50 percent relative humidity, and keep it under 60 percent at a minimum. Above 60 percent, mold and mildew begin to thrive and that damp, musty odor sets in. A hygrometer costs about $10 and takes the guesswork out. If a right-sized dehumidifier cannot hold that range, there is usually a water source you have not fixed yet.

Dharm Solanki
Dharm Solanki spends a lot of time thinking about the air inside people's homes, usually when no one else is. He writes about humidity, ventilation, and dehumidifiers, along with the small fixes that turn a stuffy or damp room into one that feels comfortable again. He would rather explain why a recommendation works than just point at a product, so his guides tend to answer the question you were about to ask next. And if something looks great on paper but struggles in a normal house, he says so.